
2.3.2 Collaborative writing using Glossary
....
3. Instruction
3.1. Create Glossary
|
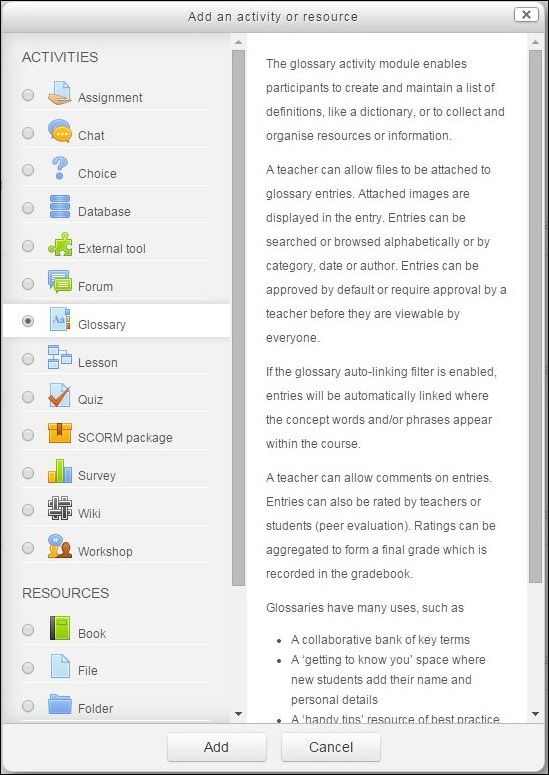
First of all go to the main course page and click the Turn editing on button at the top right of the course page. Then click Add an activity or resource link, then in the activity chooser select Glossary, then click the Add button. |
 |
|
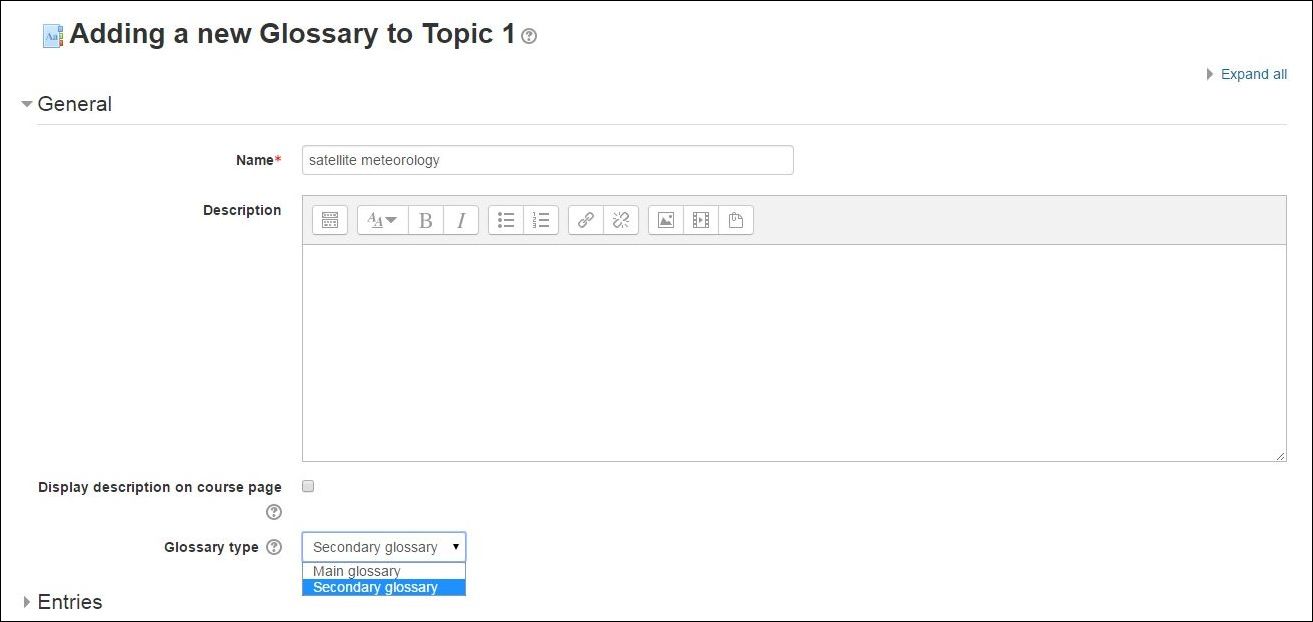
Then enter the name of the Glossary and add some description if you want. In this step you will have to choose if you want to create Main or Secondary Glossary. By default it is a Secondary Glossary and we don't have any reason to change it. |
 |
|
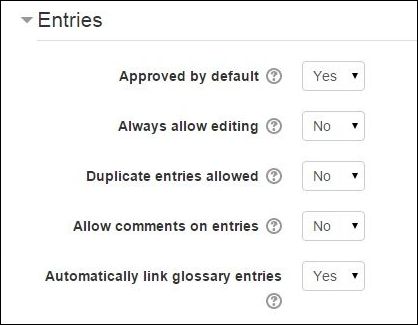
In the next sections you will have to decide what to so with entries settings. It will depends on the purpose of this glossary. As teachers this time we don't want to check entries before publishing so we leave Approved by default with Yes. But we want to allow everybody comment these entries. Moreover, we want to give an opportunity to change entries if it's necessary because maybe something will have to be changed or maybe the author of the entry will have some new ideas which should be added to the entry later. |
 |
|
In the end we have to decide whether we want any ratings and grading or not. The rest setting are common for adding many Moodle activities and resources. |
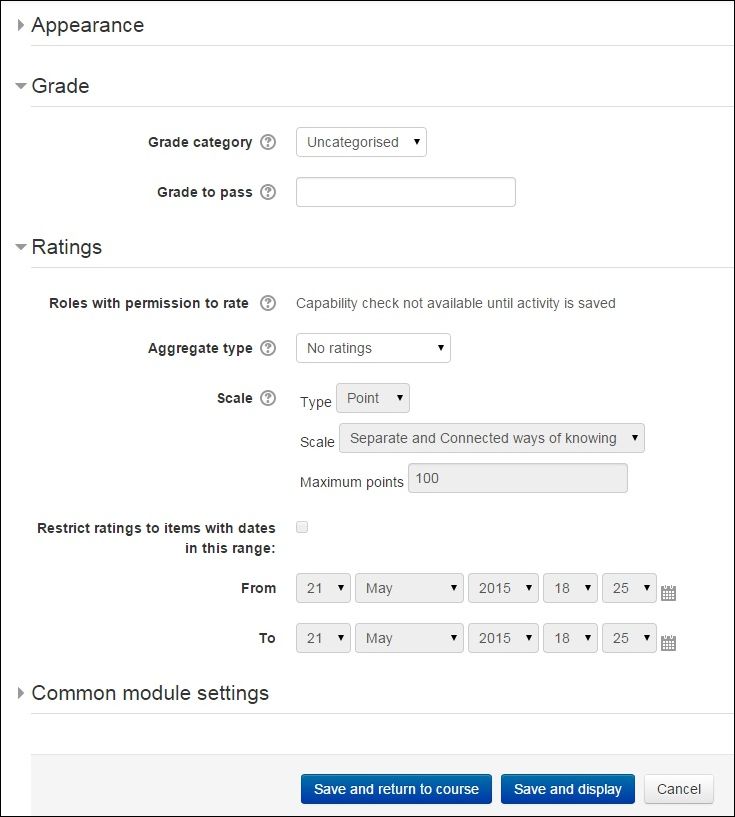 |
| When you finish changing settings click Save and return to course or Save and display to see the file in your course. |