
2.2.2 Using Folders
....
3. Instruction
|
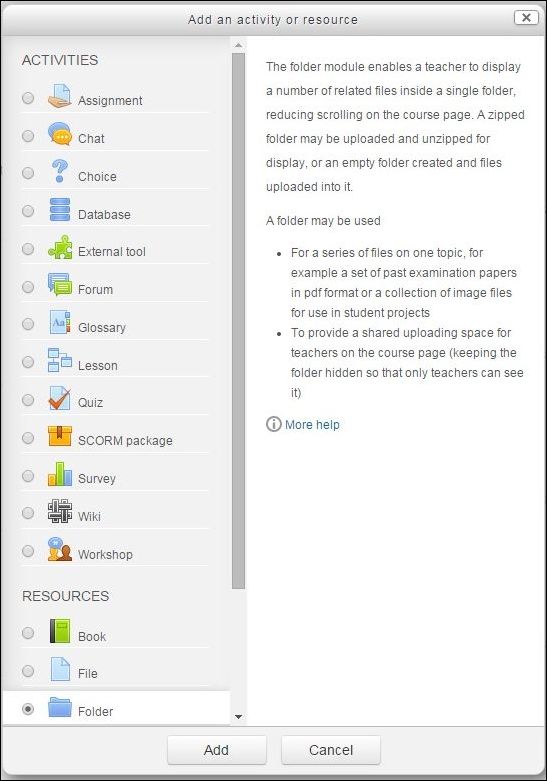
Let's create the folder for our students. We would like to create a space for them where they can put some interesting satellite images. We don't want to do it in a chaotic way so we will create three subfolders for: infrared images, visible images and RGB images. Click on Add an activity or resource, choose Folder on the left side of pop-up window and click Add. |
 |
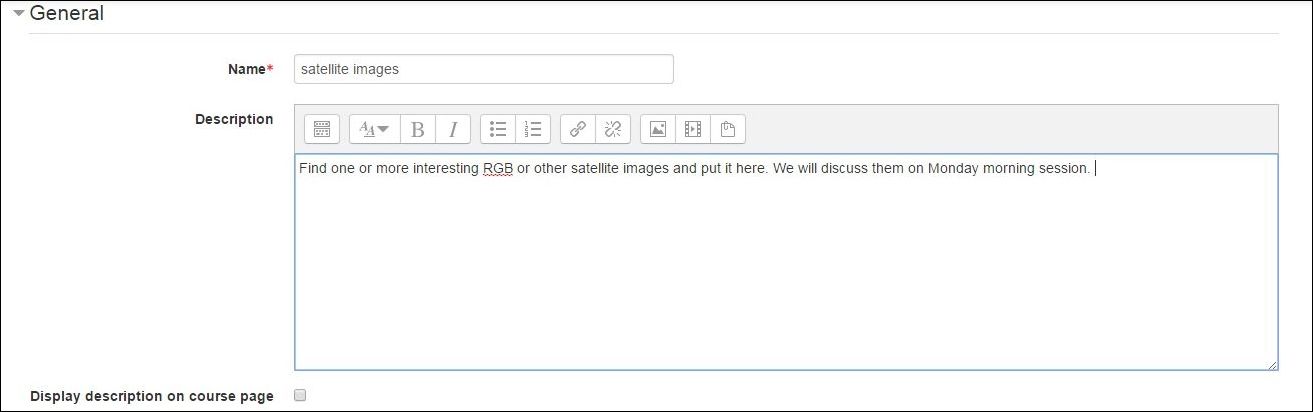
| In the General section add the name of the folder e.g. "satellite images". You can also add a description in the proper place. |
 |
|
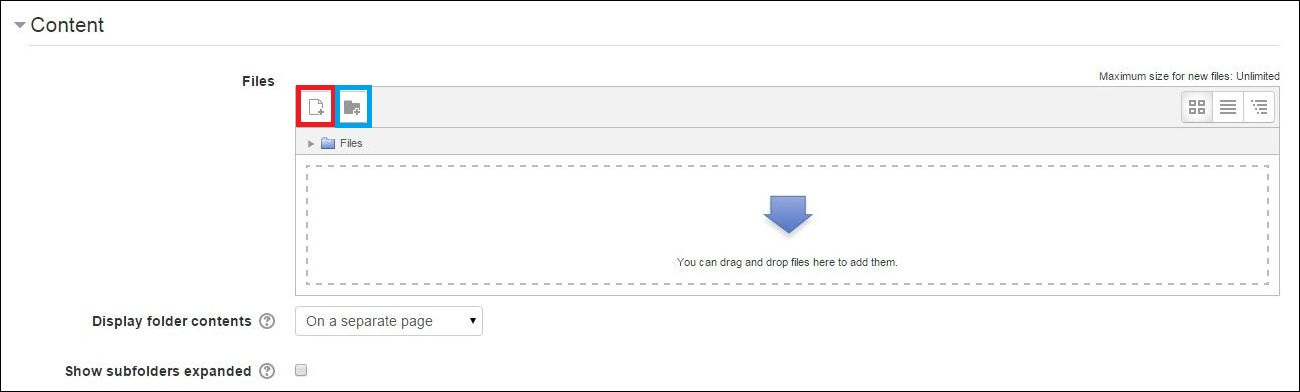
Now in the Content section create a new folder (subfolder) - icon in the blue frame. We can call this subfolder "RGB images". Then we can open the "RGB images" folder (double click) and add some resources there. You can add files using drag and drop or by clicking the icon in the red frame. |
 |
|
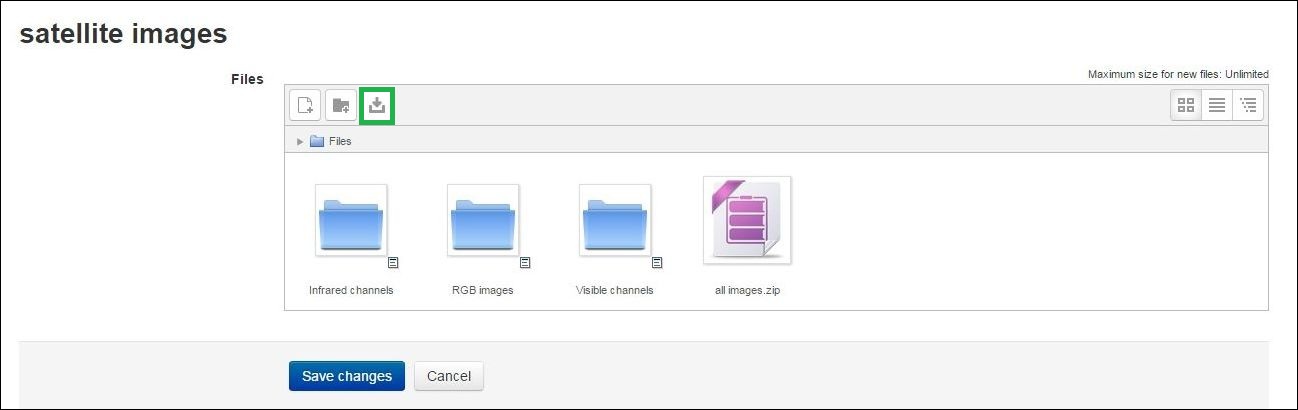
Click Save and return to course or Save and display to see the file in your course. These buttons can be found at the bottom of the page. When you added some resources you can open "satellite images" folder and click Edit. Then you can modify this folder by adding or deleting resources and folders. You can download all available resources by clicking the icon in the green frame. |
 |
|
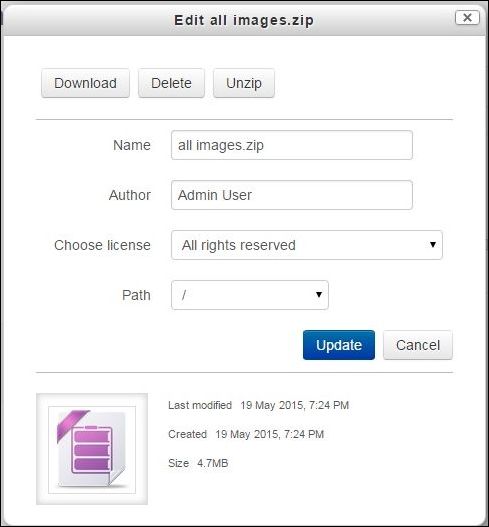
If you added a zip file you can unzip it directly to the folder. Click left mouse button on the zip file and then in the pop-up window choose unzip. In this pop-up window you can also delete or download resources. |
 |
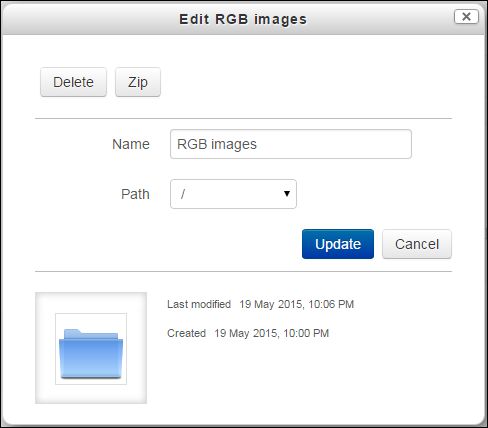
| If you want to delete, change the name or zip some folder, click right mouse button on folder you want to modify and choose the action e.g. change the name. |
 |
| When you have finished modifying your folder click Save changes. |