2.2.2 Using Folders
| Sitio: | WMO Education and Training Programme |
| Curso: | Calmet Moodle Unit 2 - Provide learning resources |
| Libro: | 2.2.2 Using Folders |
| Imprimido por: | 访客用户 |
| Día: | domingo, 26 de julio de 2026, 07:42 |
Descripción
....
1. Introduction
Using Folders gives you an opportunity to store and display many different resources in one place.
Usually folders are a good way to keep your resources in organised and neat way. To make it clear and transparent for student you can create subfolders in your folder.
The resources might be in different formats. You can put into your folder images, doc files, zipped files etc.
Moreover, you can decide whether you want to keep the Folder hidden or not. If you want to store and share some files only with other facilitators you can hide the Folder. You can also make it visible especially if you want to share some files with participants or if you want to ask participants to add some files to the Folder.
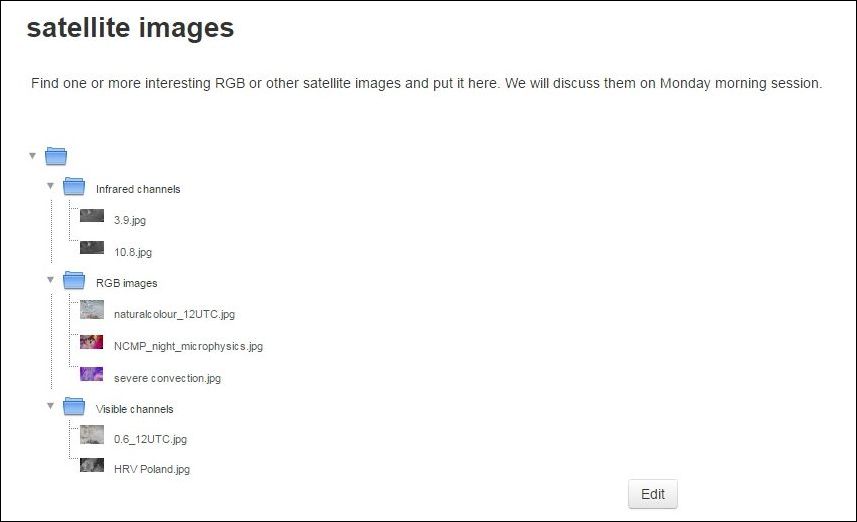
2. Example
Here is an example of how a Folder might look. In the next chapter you will learn how you can create your own Folders.
3. Instruction
|
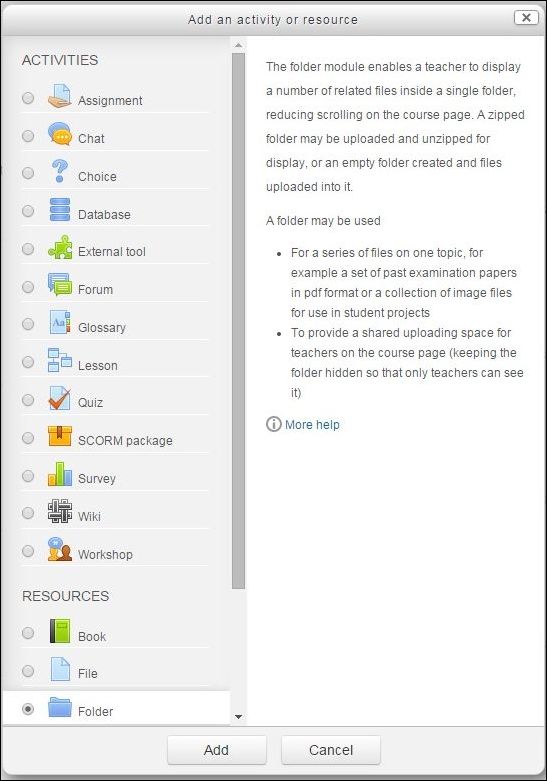
Let's create the folder for our students. We would like to create a space for them where they can put some interesting satellite images. We don't want to do it in a chaotic way so we will create three subfolders for: infrared images, visible images and RGB images. Click on Add an activity or resource, choose Folder on the left side of pop-up window and click Add. |
 |
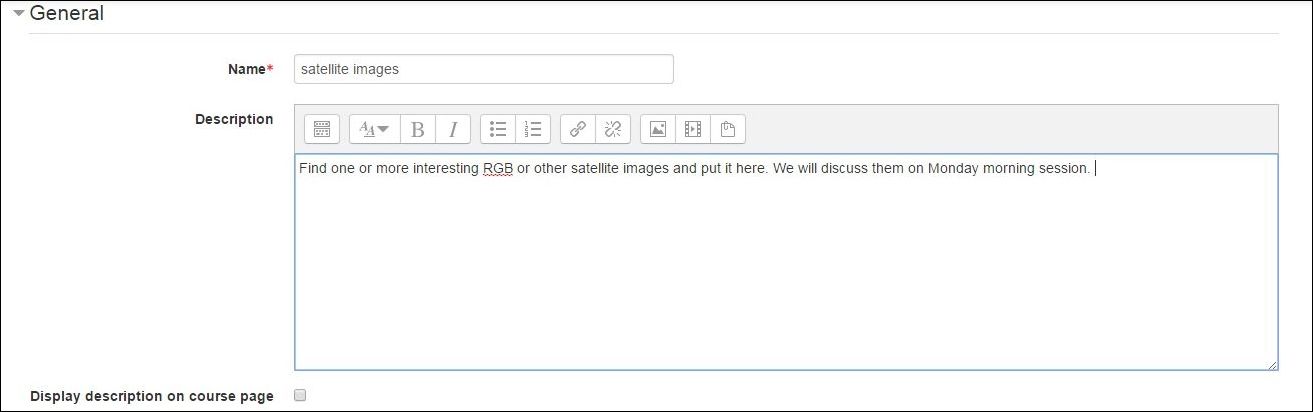
| In the General section add the name of the folder e.g. "satellite images". You can also add a description in the proper place. |
 |
|
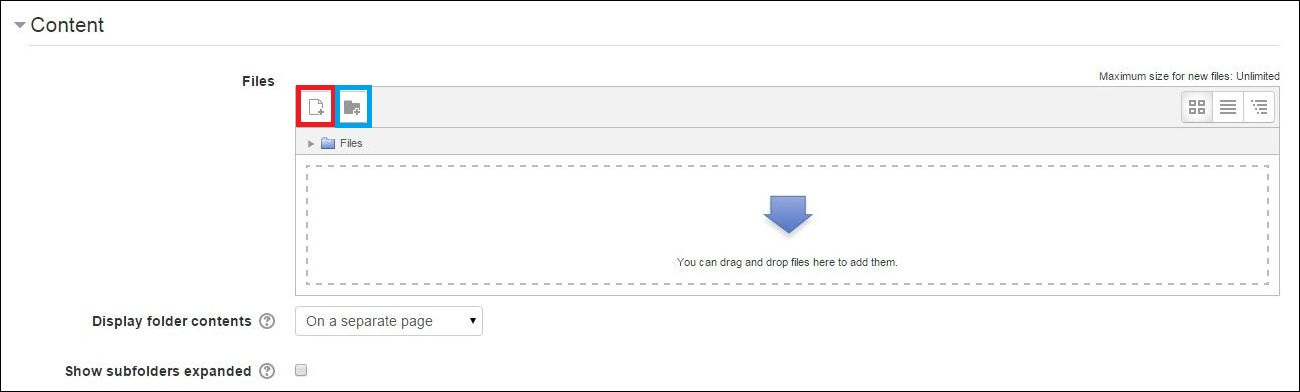
Now in the Content section create a new folder (subfolder) - icon in the blue frame. We can call this subfolder "RGB images". Then we can open the "RGB images" folder (double click) and add some resources there. You can add files using drag and drop or by clicking the icon in the red frame. |
 |
|
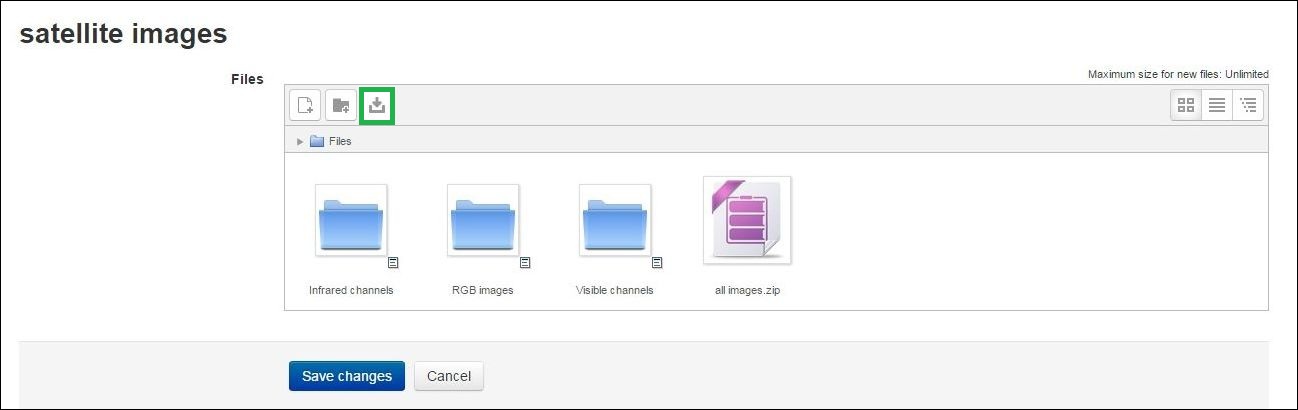
Click Save and return to course or Save and display to see the file in your course. These buttons can be found at the bottom of the page. When you added some resources you can open "satellite images" folder and click Edit. Then you can modify this folder by adding or deleting resources and folders. You can download all available resources by clicking the icon in the green frame. |
 |
|
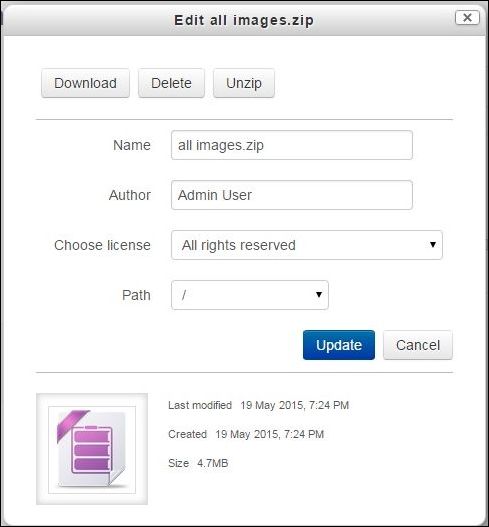
If you added a zip file you can unzip it directly to the folder. Click left mouse button on the zip file and then in the pop-up window choose unzip. In this pop-up window you can also delete or download resources. |
 |
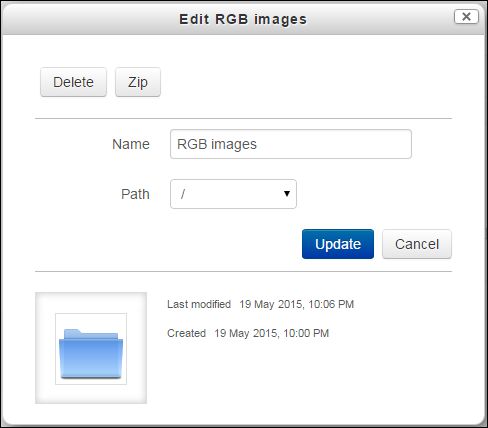
| If you want to delete, change the name or zip some folder, click right mouse button on folder you want to modify and choose the action e.g. change the name. |
 |
| When you have finished modifying your folder click Save changes. |
4. Practice
Now go to your own practice area and try creating you own Folder. (For help see the front page of this unit.)
If you need assistance using Moodle Demo please check out the instructions on this Unit front page
1. Click the Turn editing on button at the top right of the course page.
2. Click Add an activity or resource link, then in the activity chooser select Folder and click the Add button.
3. Enter the name "Case study" and click Save and display.
4. Click Edit button.
5. In "Case study" folder add five new folders (subfolders): satellite images, radar images, NWP, surface observations, others.
6. Put some resources to each subfolder. You should choose different files format e.g.image, doc file or zip file.
7. Go to the folder where you put zip file. Click left mouse bottom on this zip file and unzip it in the same folder.
8. Go to "satellite images" folder and delete one image from this folder.
9. Go to "Case study" folder, click right mouse button on "others" folder and change the name of this folder to "soundings".