
Step-by-step Building a Blended Learning Storyboard
Completion requirements
View
In case it helps, here is how I did it. What took the most time was figuring out how to get the printer settings correct. ("Actual Size")
| 1. After the printing was complete | 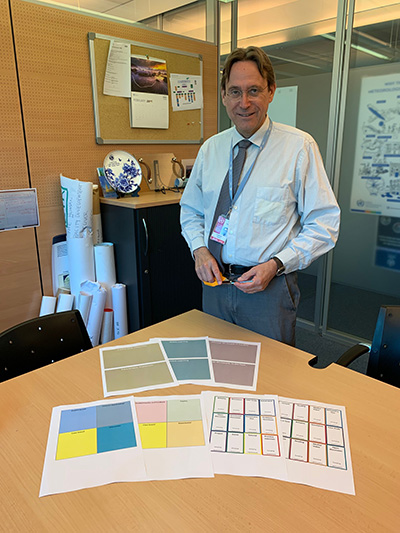 |
|---|---|
| 2. Beginning to cut | 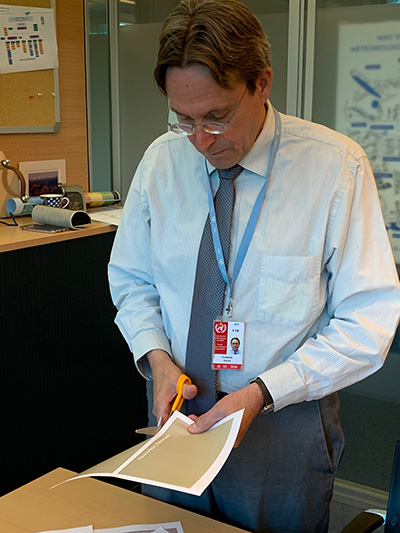 |
| 3. And more cutting... | 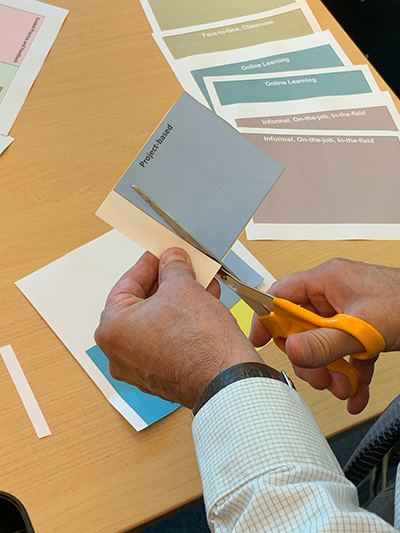 |
| 4. And more cutting... |  |
| 5. Cutting complete | 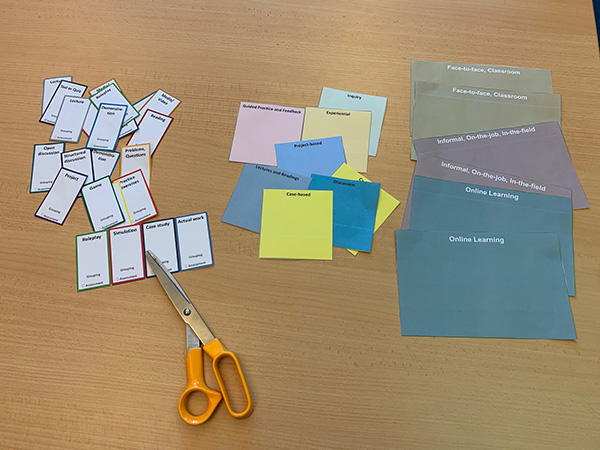 |
| 6. Beginning the layout. Note the Unit names using a simple slip of printed paper | 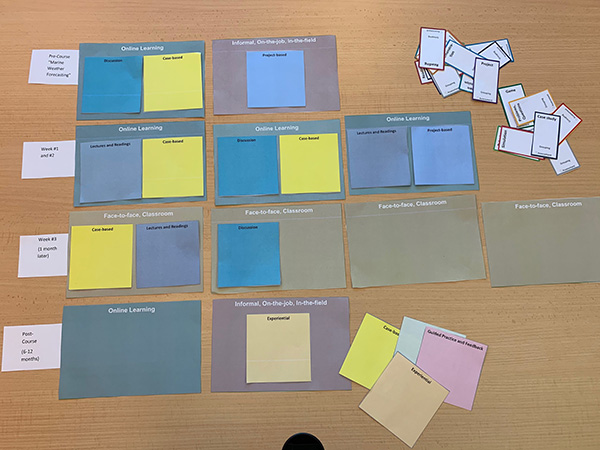 |
| 7. Basic layout is complete. | 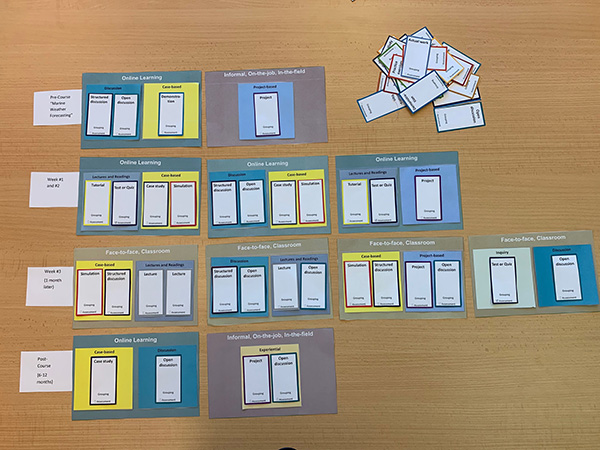 |
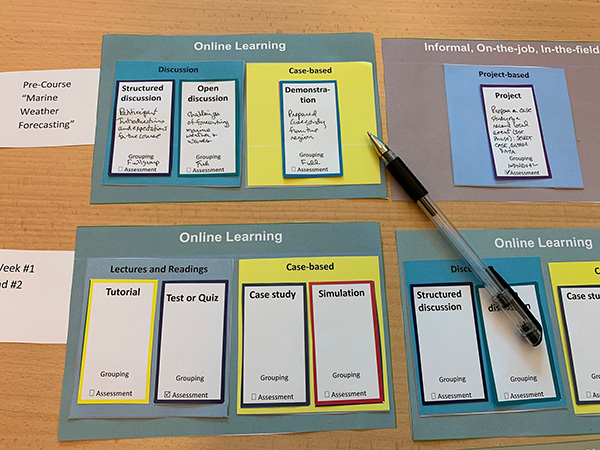
| 8. Adding the final annotations. Brief, but enough to explain what the topic will be. Also, don't forget to state the Scope of Interaction, or "Grouping" size (Individual, Full Group, Small Group, etc.) And check the Assessment box if you plan to assess the activity in any way--provide a grade or just provide feedback. A little bit of glue or tape will help hold it all together. |
 |
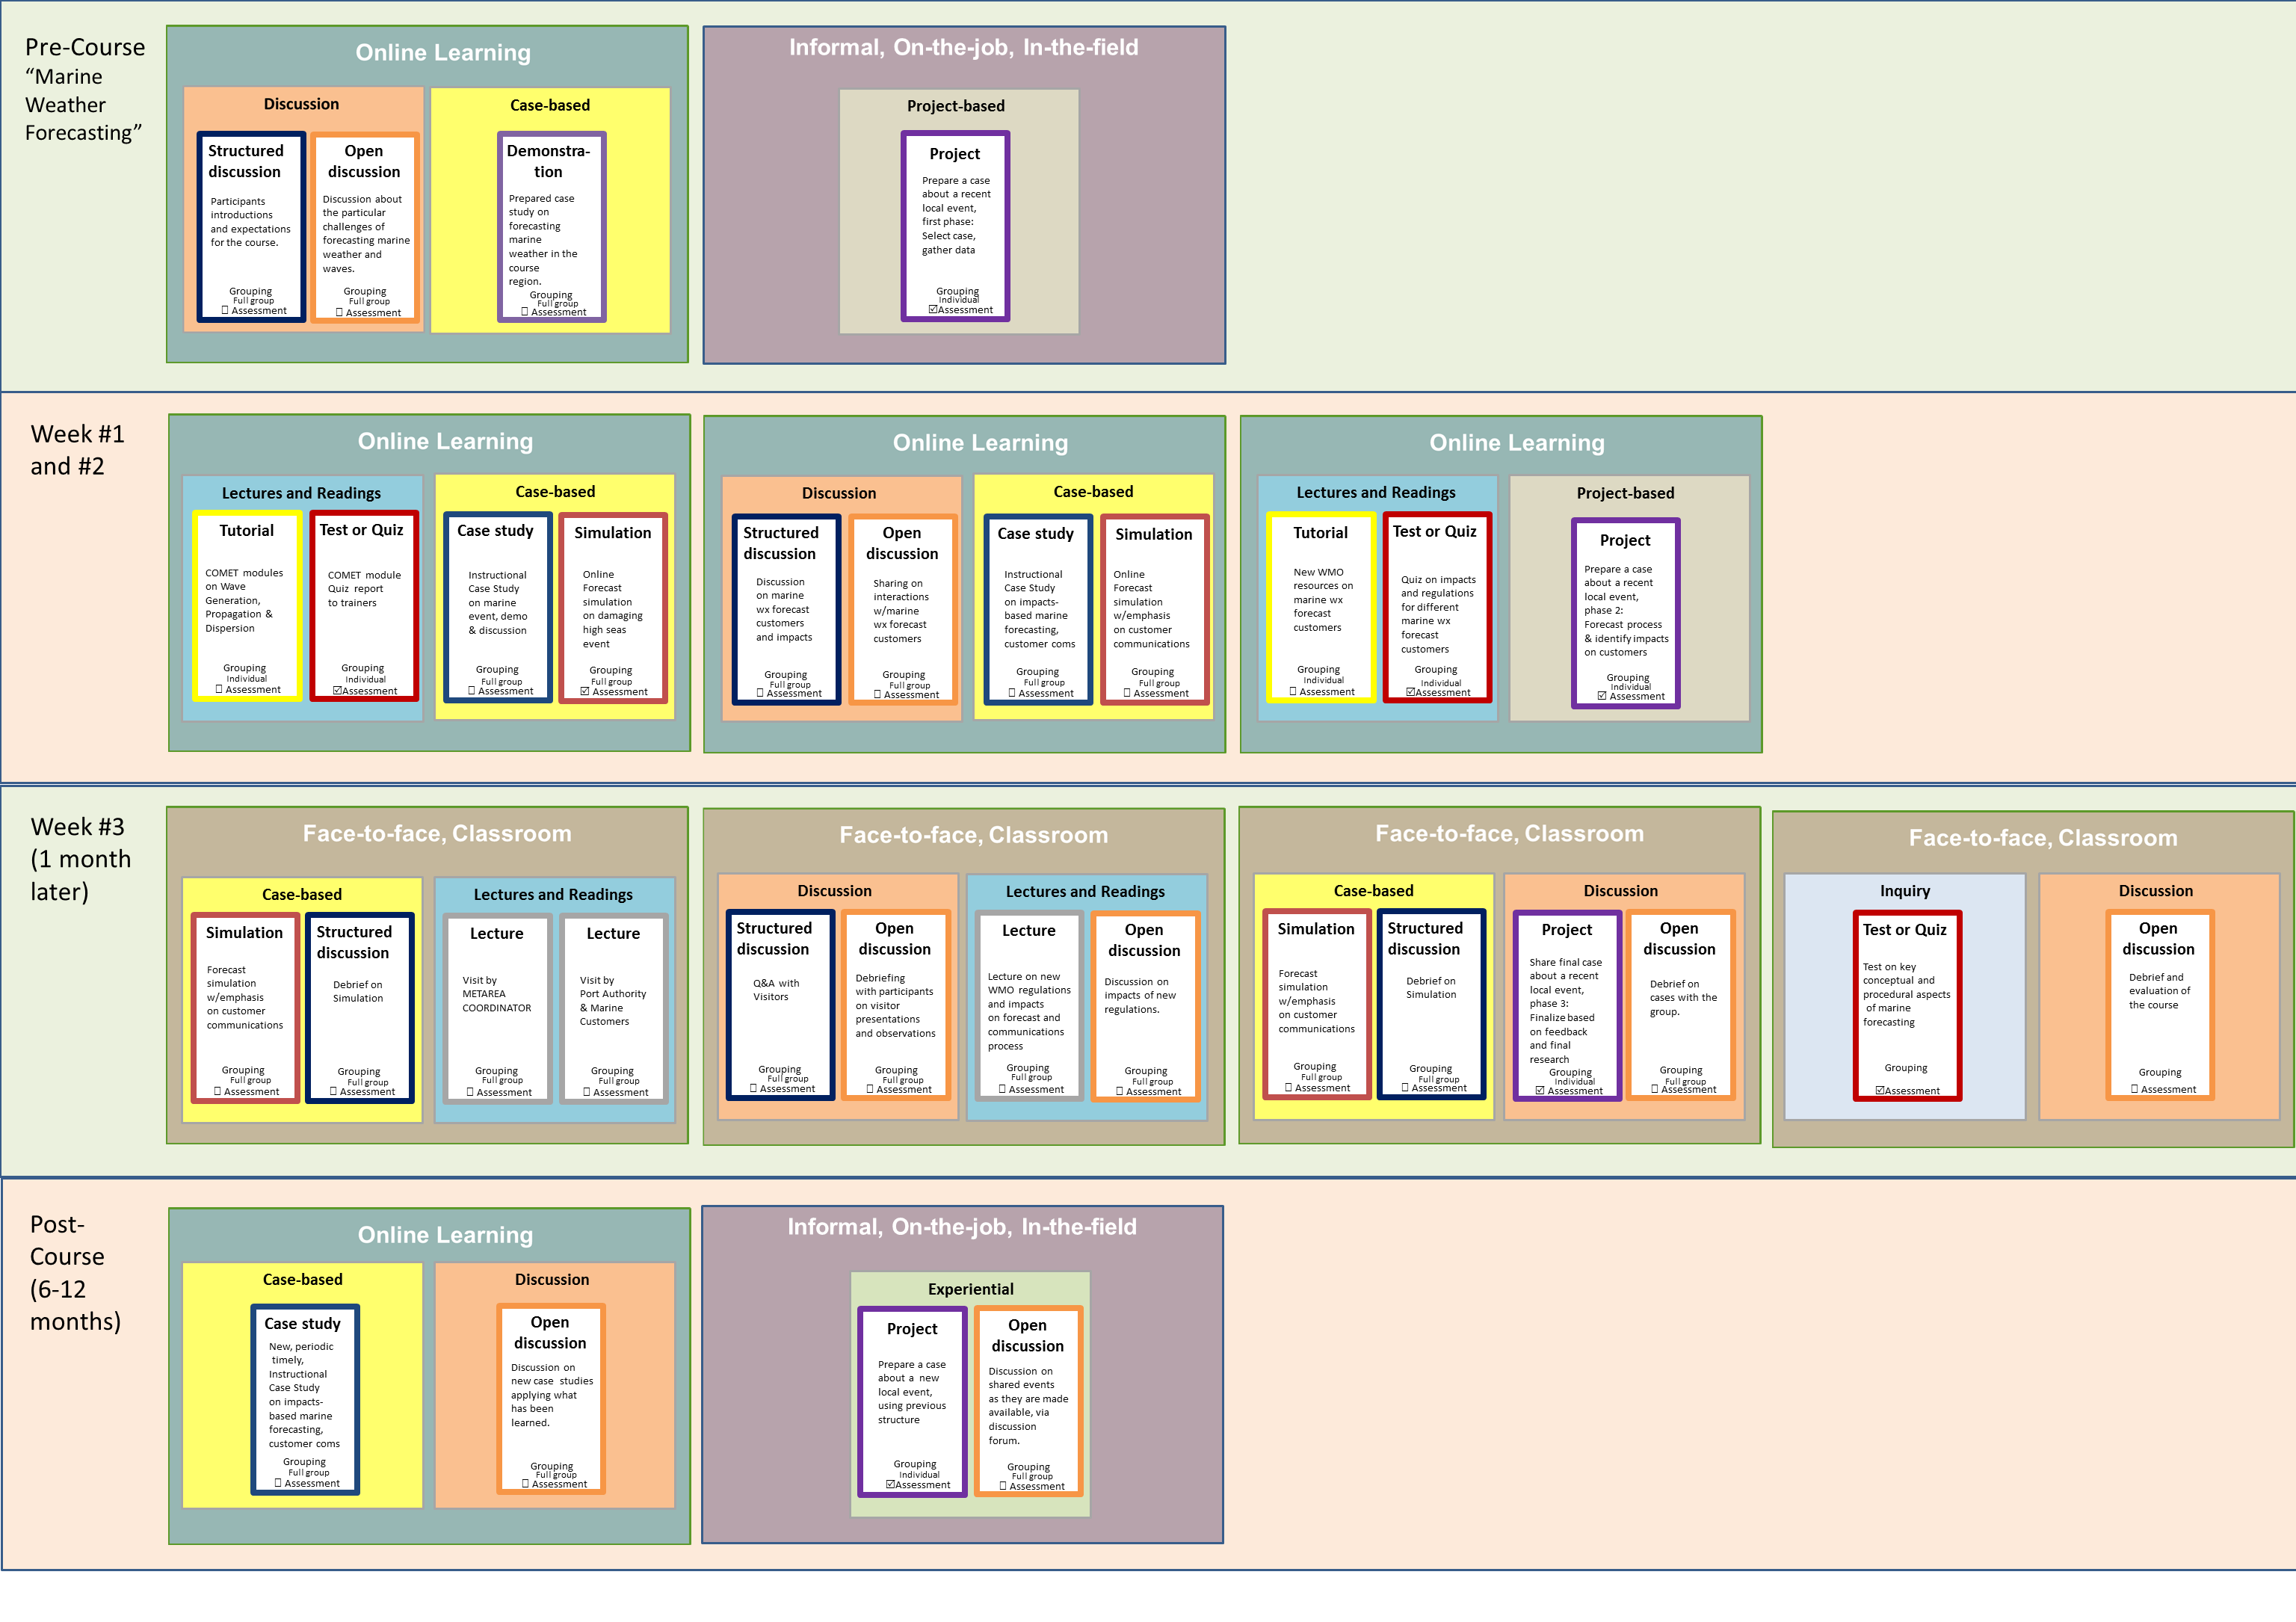
| 9. It took a little time, but not as long as, and much more fun than the digital file. Just take a photo when you are done. Make it large enough so that we can read the text. Upload the photo or file with your TDP assignment #4. Have fun! |
 |
Last modified: Tuesday, 28 May 2019, 6:55 AM