2.2.4 Displaying resources - Appearance
| 站点: | WMO Education and Training Programme |
| 课程: | Calmet Moodle Unit 2 - Provide learning resources |
| 图书: | 2.2.4 Displaying resources - Appearance |
| 打印: | 访客用户 |
| 日期: | 2026年06月26日 星期五 21:03 |
描述
....
1. Introduction
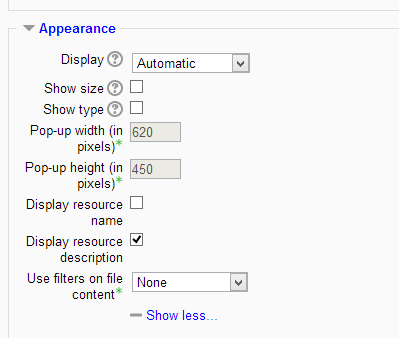
When adding resources to the course, you have an option to select how they will appear to the learner, or rather how they will be displayed. In the Appearance section of any resource Settings you can find the options:
- Automatic - the best display option for the file type is selected automatically
- Embed - the file is displayed within the page below the navigation bar together with the file description and any blocks
- Force download - the user is prompted to download the file
- Open - only the file is displayed in the browser window
- In pop-up - the file is displayed in a new browser window without menus or an address bar
- In frame - the file is displayed within a frame below the navigation bar and file description
- New window - the file is displayed in a new browser window with menus and an address bar
The Appearance setting, together with the file type and whether the browser allows embedding, determines how the file is displayed. Note that the list of available to you options may be shorter depending on what your Moodle Administrator has enabled.
It may seem like a cosmetic issue, but the look & feel of the website is an important aspect of the usability. Moreover, learners may meet technical limitations when trying to view the resource if the settings are selected randomly.
In the same Appearance section, you may choose to display resource's Size, Type and Description. Making these details available can help learners judge if they want to view the resource.
The next pages of this lesson will advise you what to consider when deciding about the resources appearance.
2. Example
|
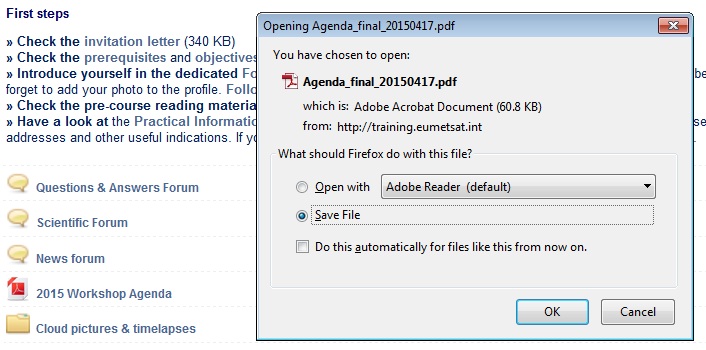
PDF to download Selecting the Forced download option in the Appearance section will ensure that the learners have the files saved locally. This setting is useful especially if the file is intended for printing or the access should not depend on an internet connection.
|
 |
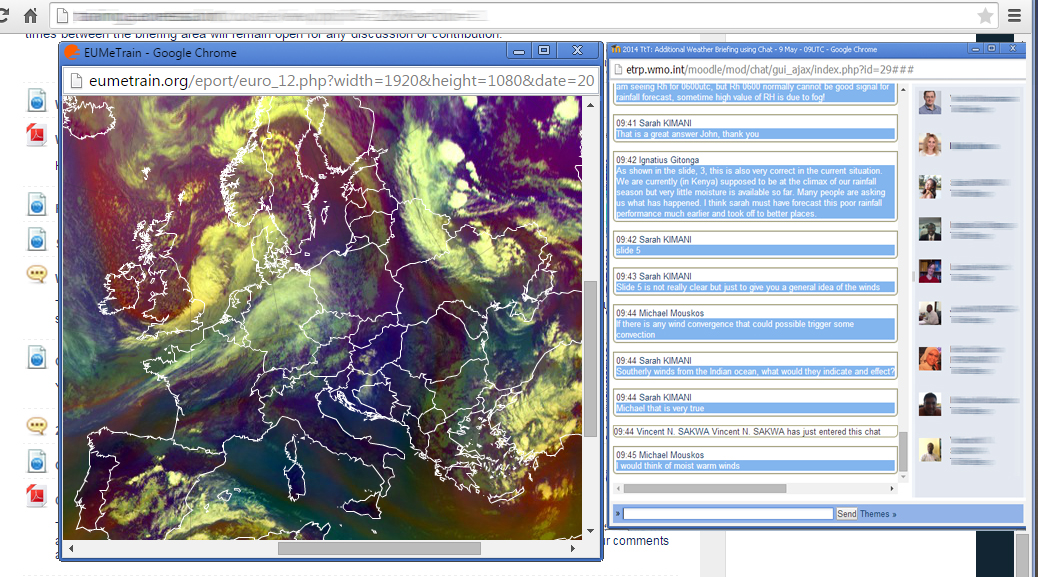 |
URL in a pop up window This example shows a Chat session where learners are asked to discuss satellite images representing current weather. The images are stored on an external website. To make the environment work seamlessly, the website is added as a URL in a and displayed in a Pop up window. This Appearance setting ensures that the website is continuously available during Chat (see Unit 3), so learners can refer to it. Note that pop-up windows may be blocked in some browsers. You should provide learners with instructions how to enable pop-ups beforehand, so the resource is opened properly. |
|
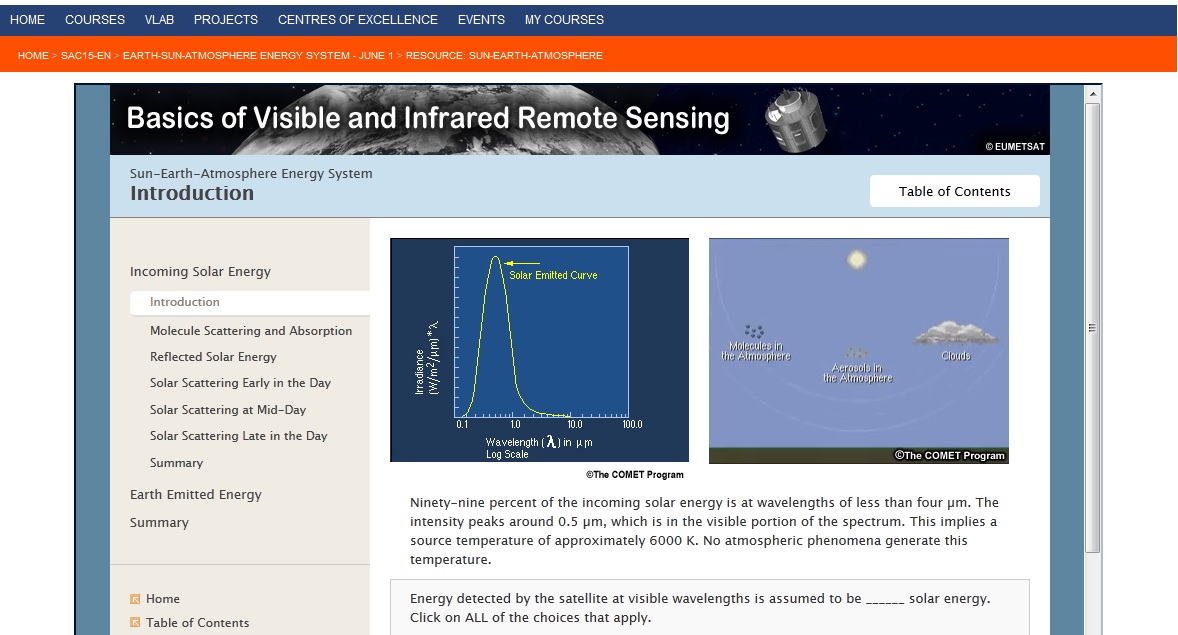
COMET lesson (small stand-alone website) Lessons produced by the COMET program (https://www.meted.ucar.edu/) are often used in training courses as a resource. You may be using another library to find resources or be producing your own with e-learning authoring tools. One of the ways to display resources like COMET lessons is to upload its compressed version (ZIP) using File from the resource list. Read the next page with the step-by-step instructions how to proceed. |
 |
To summarise:
- Do you want Moodle to sort it all out for you? - Automatic
- Do you want to force the user to save the file (or open it in a program on their desktop)? - Force download
- Do you want to show the file as part of the Moodle page (images, PDFs, videos)? - Embed
- Do you want to show the file in the browser, but without the Moodle page decorations (images, PDFs, videos)? - Open
- Do you want that, but in a new window? - In Pop-up or New window
- Do you want to use a horrible bit of non-strict HTML that should never be allowed in polite company? - In frame
3. Instruction
|
The Appearance section in the Settings of File and URL resources look similar.
|
|
|
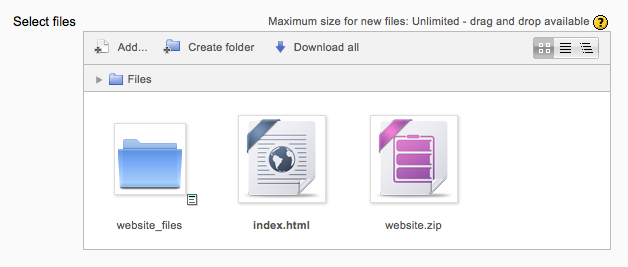
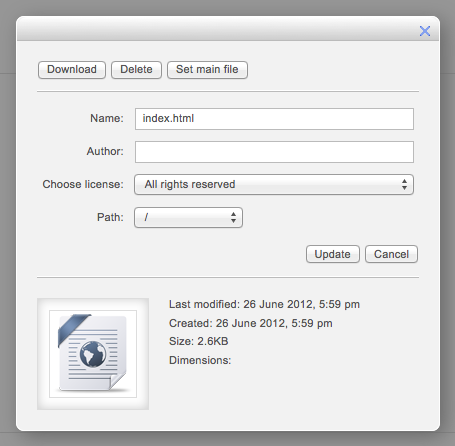
Embed a small website like a COMET lesson The File resource may be used if you have a folder with linked files such as a website with an index.html file or a flash activity with XML/ SWF and index file. 1. Click the Turn editing on button at the top right of the course page. 2. Drag and drop the zipped folder onto the course section where you'd like it to appear, answer Create file resource to the popup dialogue, then click the upload button. 3. Clicking the editing icon (hand with a pen) then click on the ZIP file and unzip it. 4. You need to choose a file which launches the resource. Click on the index.html file or another launch file and then click the Set main file button. This will be the file that appears on the course page for students to click on. The main file is then indicated with a title in bold. 5. Click the button Save and display at the bottom of the page. |
  |
4. Practice
1. Go to the COMET MetEd website (https://www.meted.ucar.edu/) and download one of the lessons.
Note that if you do not have an account yet, you will have to go through a registration process. Or alternatively you may use your own similar resource.
2. Go to the Administration block > Edit settings
3. In the Files and uploads section expand the
4. Upload the COMET lesson using File feature. Set the "index.htm" as a main file so the module is launched properly.
There are different places where you can practice. You will find the detail instructions on the Course Guide.