2.2.5 Embedding resources
| Site: | WMO Education and Training Programme |
| Course: | Calmet Moodle Unit 2 - Provide learning resources |
| Book: | 2.2.5 Embedding resources |
| Printed by: | Guest user |
| Date: | Tuesday, 23 June 2026, 9:17 AM |
Description
...
1. Introduction
Embedding resources in a Course homepage means the resources will be displayed within the page. A variety of resources can be embedded, such as: images, PDF documents, webpages and media files.
In previous lessons you learned how to upload and display some of these resource types in the Course homepage. This lesson will focus on using the HTML mode available in the text editor to embed resources.
Embedding a resource is not only useful to show the resource as part of the page, but also to avoid causing inconveniences to the users of your course due to slow download of resources, for example.
2. Example
Embedding images and videos in your Course is a very nice way to add relevant examples to the Course, without redirecting the learner to different websites. A large amount of images and videos in various subjects is available in external tools such as Flicker and YouTube, for example. Tools such as these usually provide a HTML code ready to be shared with users. See some examples in the following pages.
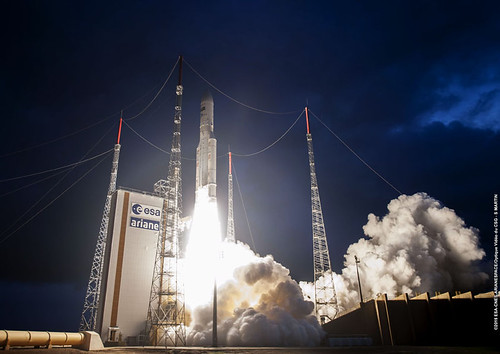
2.1. Embedded image from Flicker
This example shows an image selected from the EUMETSAT Flickr photo stream.
2.2. Embedded YouTube videos
Embedding YouTube videos is a very useful approach. This means the learner will be able watch the video inside the Moodle environment instead of being transferred to the YouTube website, which could be very distracting. Also, embedding a multimedia file stored in a video sharing service such as YouTube preserves space on your server because the physical video file is stored on the YouTube server. Try playing the video below to experience it.
3. Instruction
You can embed resources using HTML code in places you can open the text editor. This can be a Label, Page, or Book, for example.
3.1. Embedding images from Flicker in a Page
1. Turn editing on (top right of the course page)
2. Click the editing icon of the place you want to embed the video (the hand with a pen, besides the Page)
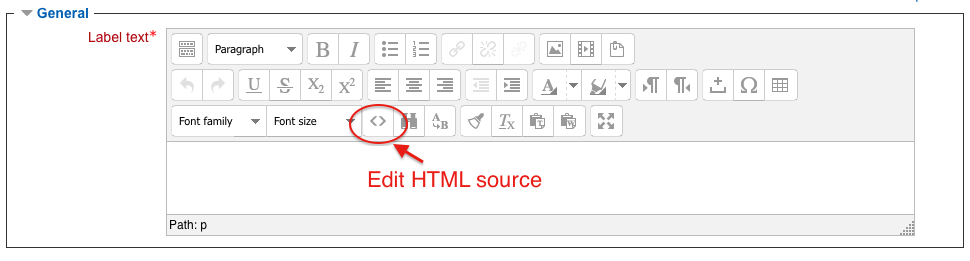
3. In the text editor for the Page content, choose the Edit HTML source button

4. When in HTML editing mode, paste the embedding HTML code obtained from the image in Flicker that you intend to embed (see NOTE below, for details on how to obtain this code)
5. Click Update and then Save and return to course
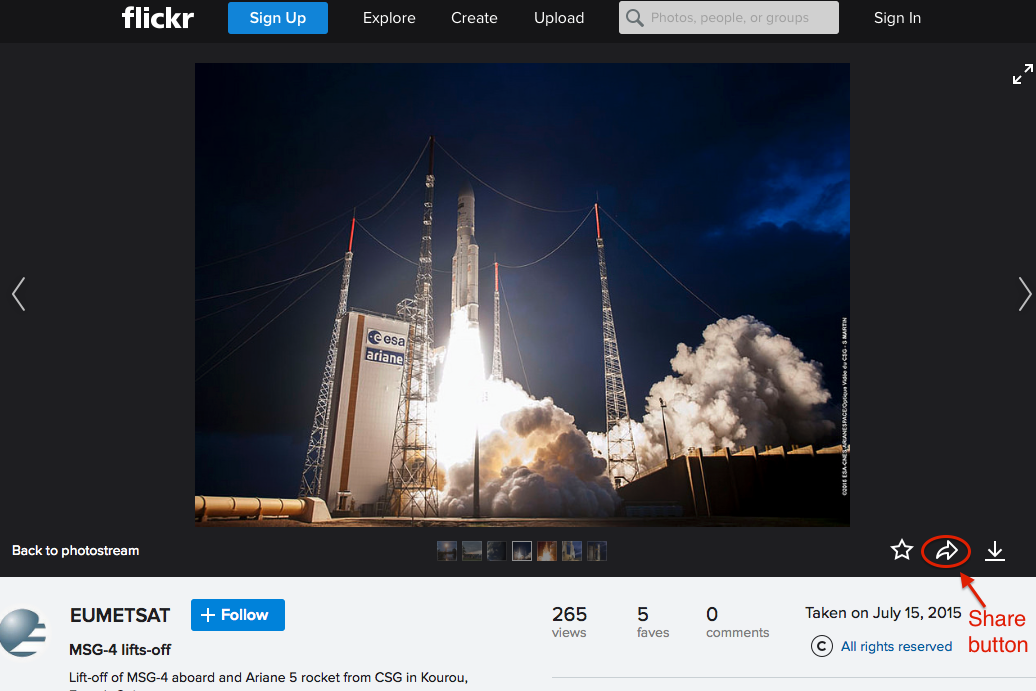
NOTE: The embedding code for images in Flicker can be obtained by clicking the Share button at the bottom right hand side of the image (see below).
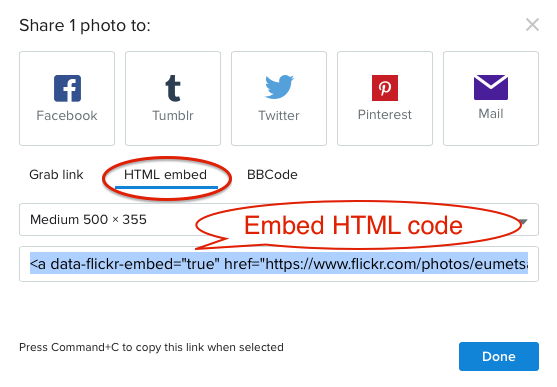
A new window will appear showing the sharing options. Choose HTML Embed and copy the code.
3.2. Embedding a YouTube video in a Label
1. Turn editing on (top right of the course page)
2. Click the editing icon of the place you want to embed the video (the hand with a pen, besides the Label)
3. In the text editor for the Label text, choose the Edit HTML source button
4. When in HTML editing mode, paste the embedding HTML code obtained from the YouTube video you intend to embed (see NOTE below, for details on how to obtain this code)
5. Click Update and then Save and return to course
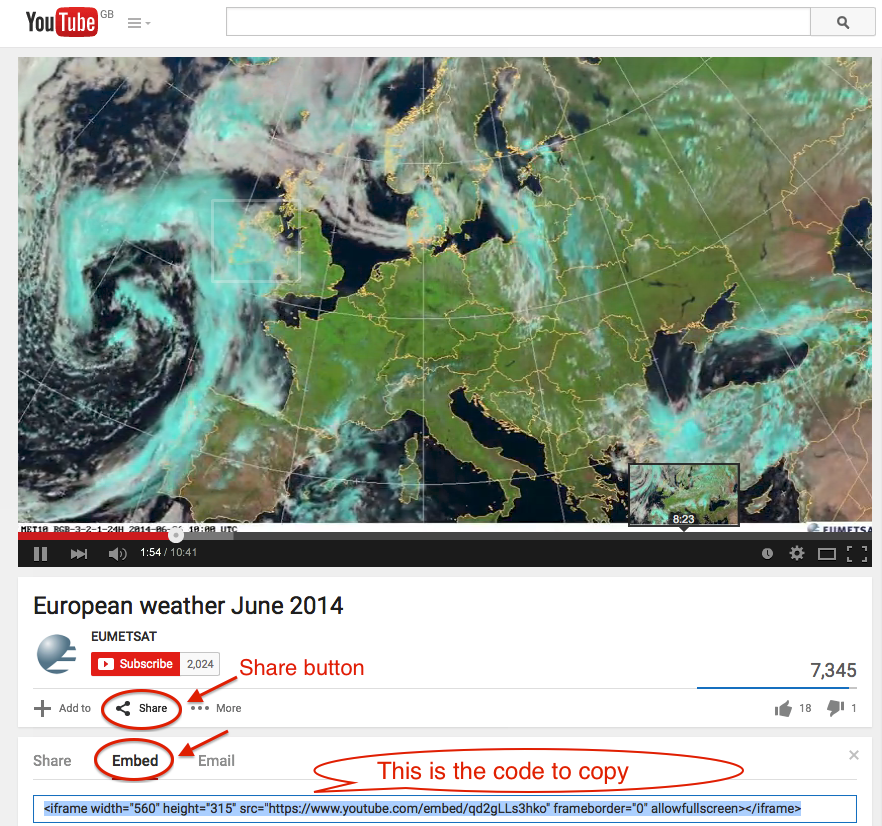
NOTE: The embedding code for YouTube videoscan be obtained by clicking the Share button and choosing Embed
4. Practice
The list below indicates links to some YouTube channels and Flicker photo streams related to meteorology and remote sensing.
EUMeTrain YouTube channel - https://www.youtube.com/user/eumetrain
COMET YouTube channel - https://www.youtube.com/user/cometmeted/featured
NASA Flickr photo stream - https://www.flickr.com/photos/nasa/
EUMETSAT Flickr photo stream - https://www.flickr.com/photos/eumetsat/
Practice:
1. Choose one of the resources available in the sites suggested above (or any other of your interest) and try to find and copy the Embed code.
2. Go to your chosen practice area and create a Page.
3. Use the Embed code to display the resource of your choice in the Page.
There are different places you can choose as practice area. You will find the detail instructions on the Course Guide.